Building Carapace Armor for Garrus
Sarrah Wilkinson - 8/4/2013
This is one of a series of blogs about how I made my Garrus costume. View everything related to this cosplay here!
Welcome back! In the last blog, Getting Garrus' Eyes Right, I showed the process of finished up the mask. Now, we're on to the armor!
This was the first time I'd ever made armor for a costume, and I admit, I was pretty nervous about how it was going to turn out. Fortunately, there are many amazing costumers on the Internet who've written up tutorials, posted on forums, and created videos showing how they've made their armor.
I made mistakes, and definitely have a few things I'd do differently if I were to make this costume over again, but overall, he turned out far better than I'd hoped.


I started out by making sketches based on screenshots from the game. This helped me to visualize what I was going to be doing and how it would fit on a human body. These sketches were made pretty early on; later, I also made a lot of use of Troodon80's references on deviantArt, and also the XNALara program (Unfortunately, the link where I found Garrus in his ME3 armor is no longer active).
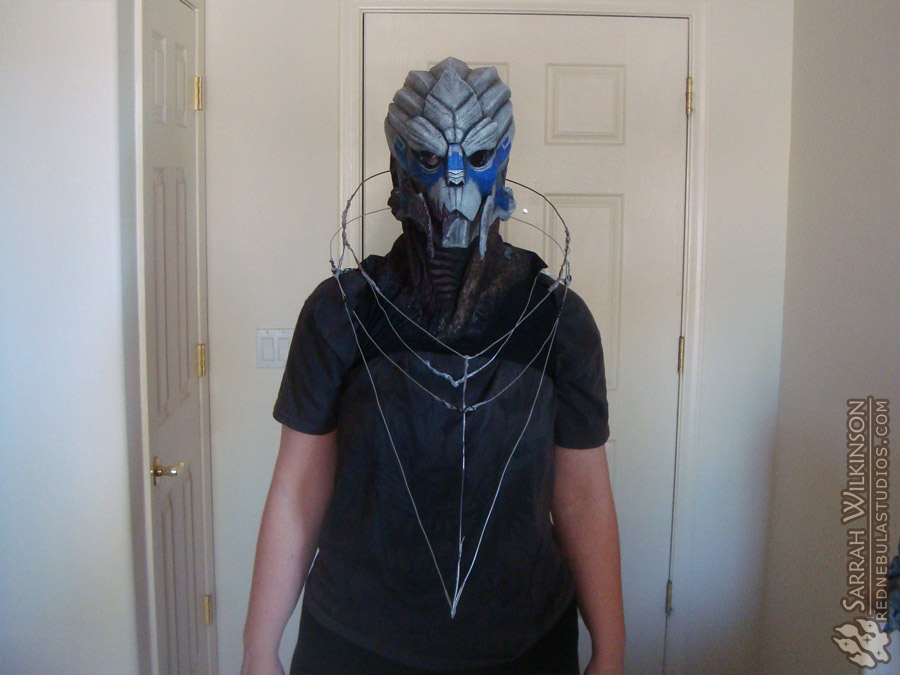

The carapace began as a frame made from 16 gauge steel wire. There's an inner ring of wire that goes over my shoulders and rests against my chest and back, and then a piece of wire above each of my shoulders connects to the outer structure, the carapace itself. I deliberately made it a little smaller than the final armor, since I would be doing a foam build over the top of it. The foam adds between 1/2" and 3/4" to the outside of the carapace. That might not seem like a lot, but it does make quite a difference!
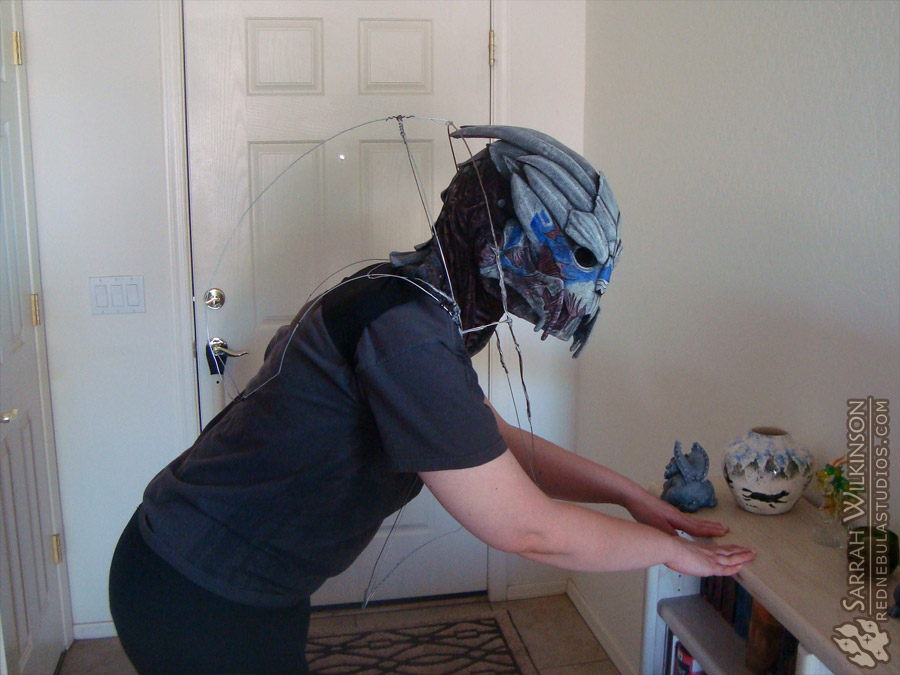
As usual, I did a lot of trial fits as I was building the armor (especially the carapace!) to ensure the look was right, the fit was comfortable, and I could move freely.
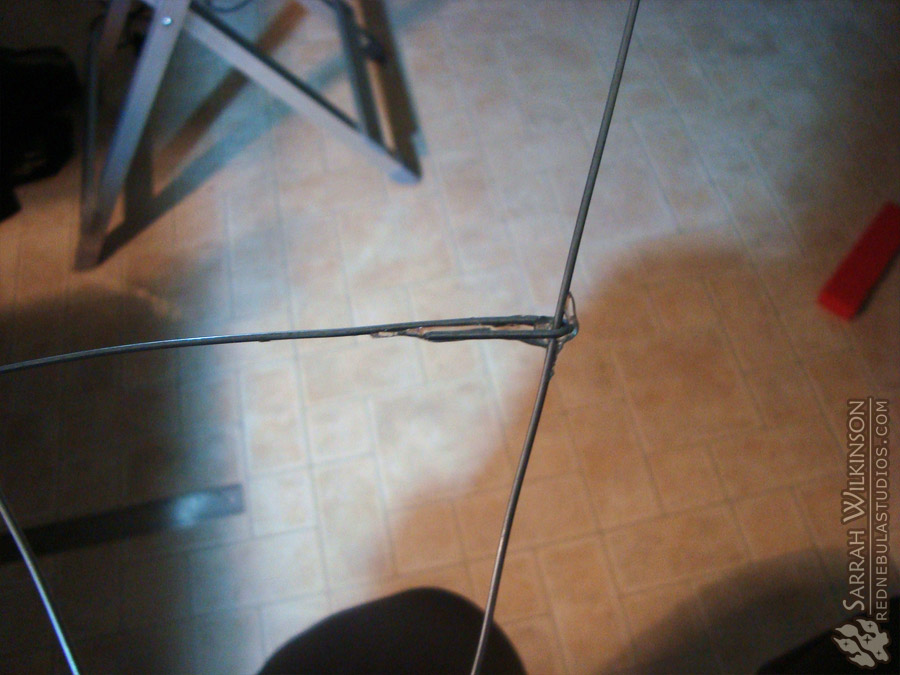
At first, I tried joining the wire by twisting one piece around the other. I found this tended to make both wire pieces warp, and still didn't create a very stable join! This way worked much better - just wrap one piece of wire around the other and secure the join with hot glue. It stayed put very nicely, but could be loosened with heat if I needed to adjust the wire frame.
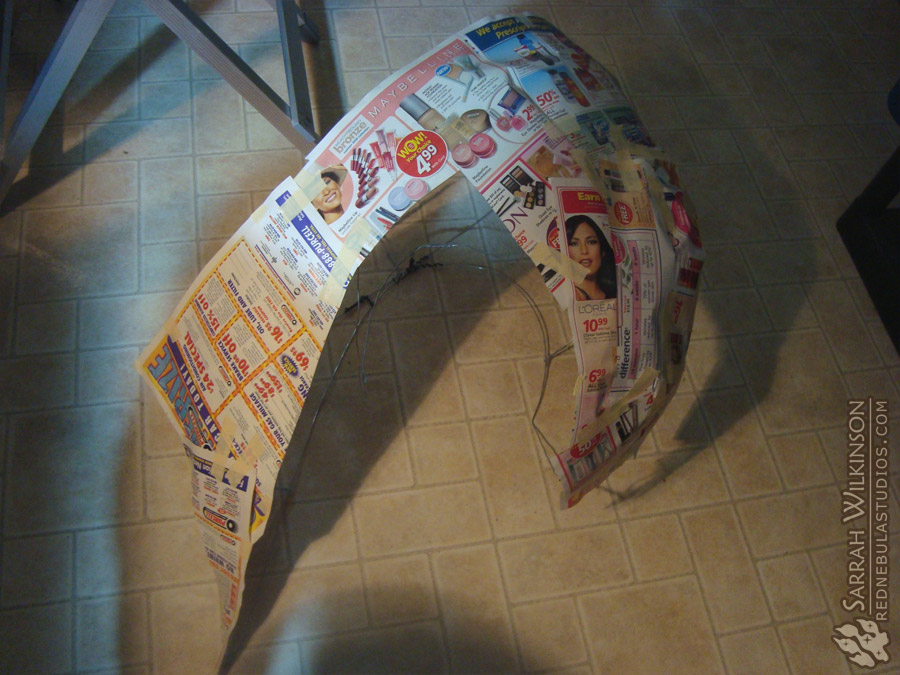


To make a pattern for the base layer of foam, I started with strips of newspaper attached with masking tape, and then covered that all with duct tape for durability. Then, naturally, I did another test fit. :)

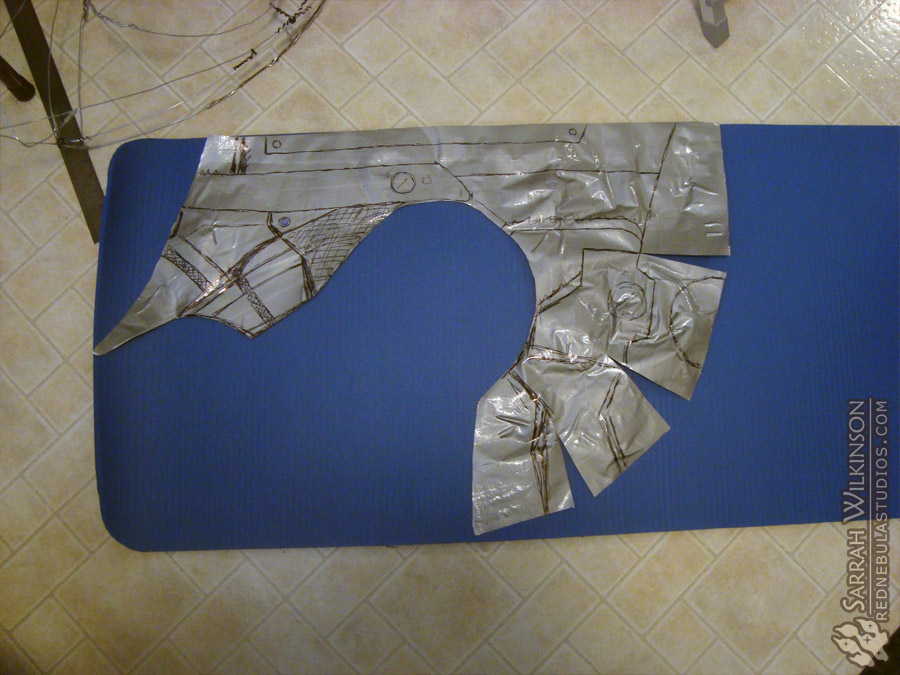
Here, I've refined my duct tape pattern and sketched the armor details on it. Once I was happy with the pattern, I removed it from the wire frame and flattened it out. Notice I made three darts (straight cuts which naturally open up when the pattern is laid flat) along the back. Once the foam piece has been cut out, attaching those together will form the curve of the carapace.
The foam I'm using here is from a yoga mat. I do NOT recommend this type of foam. It's too soft, and in the places where it is the final layer of the armor, it didn't take the sealant very well and required a lot of on-the-fly corrections. Typically, foam armors are built from EVA - basically, the same stuff as craft foam, but thicker. Many people start with EVA foam anti-fatigue mats. It is also available in larger sheets, which would be needed for a big armor piece like Garrus' carapace.


Here, I'm attaching the darts together. (That corrugated back was another thing I didn't like about the yoga mat foam.)


Hey, look! Another test fit! (Good Garrus head-tilt practice, though.)


Next, I drew the armor details onto the foam. The numbers are to keep track of how many layers of foam would be used for each area, and which thickness of foam I'd be using. Some pieces were done with more of the yoga mat foam, but most was done with craft foam.


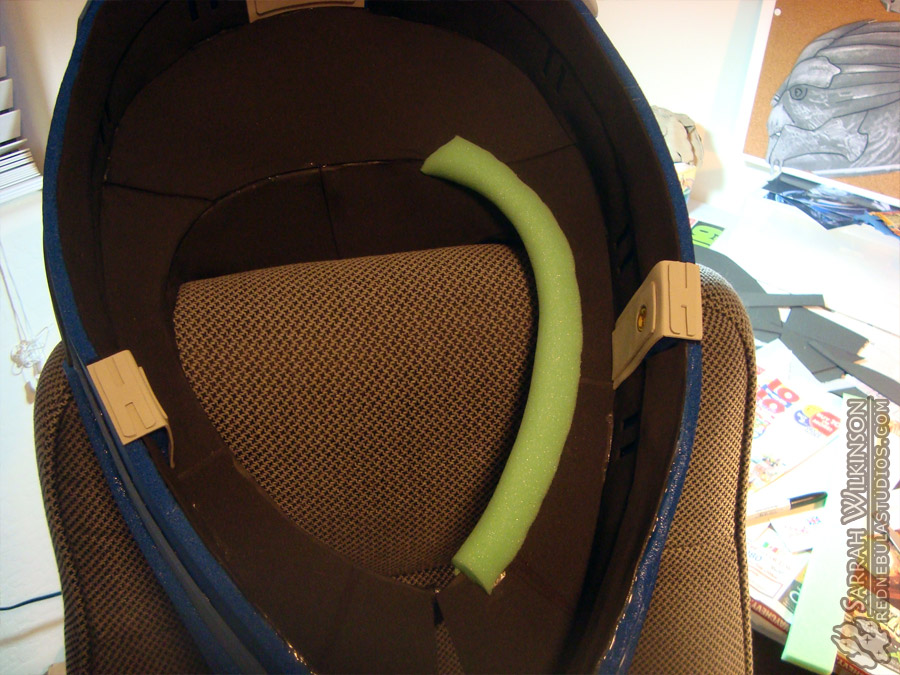
For areas with lights, I cut a hole through the foam and attached the pieces of clear colored plastic I would be using as gels for the white LEDs. I did do a bit of testing with my lighting to make sure they were appearing the right color. There are two layers of colored plastic there, the bottom one green and the top blue. They're from a set of transparent plastic folders I got from an office supply store. Nice and simple. :)
In the second photo, you can see that I cut a round hole in a piece of craft foam and placed it over the area that would be lighted.
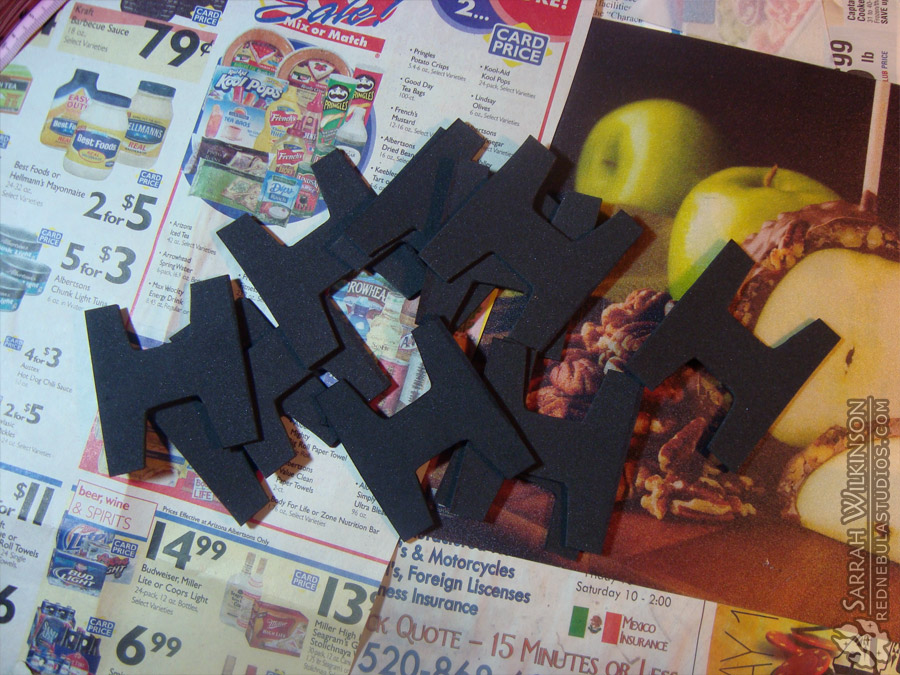

I know, I skipped a few steps! I had neglected to take pictures during some of the armor building process. Really, it was mostly more of the same - just layering up pieces of foam to get the right look. Occasionally, I would use a piece of hardware, like the grommets on those side pieces.
For the tubular pieces on the inside of his carapace, I used rolled strips of upholstery foam, and attached those craft foam cutouts to it to match his armor.
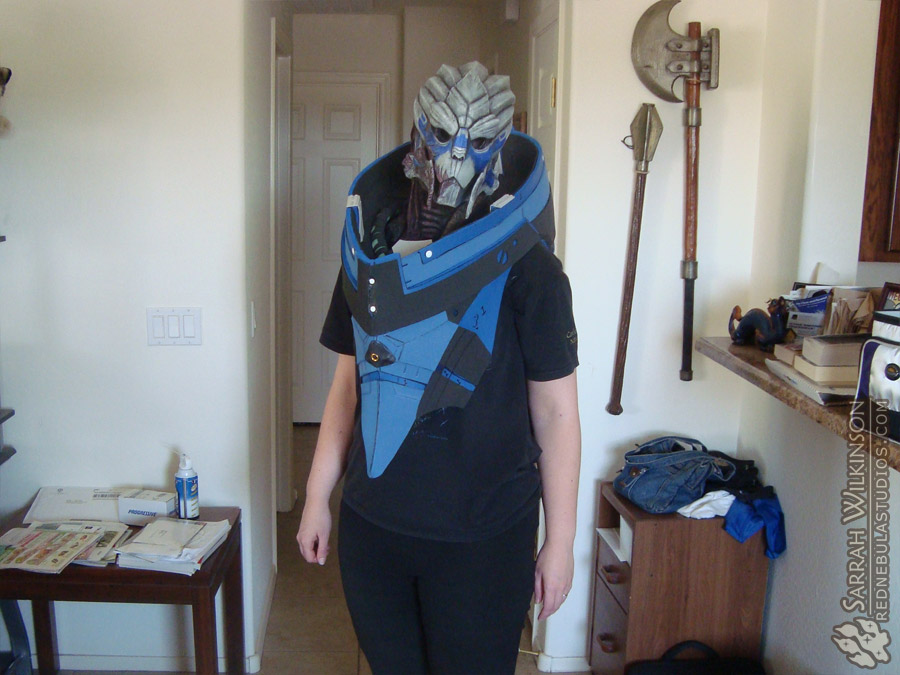

Here is another test fit with all of the foam pieces now attached. While I mostly worked with blue, black, and grey, the colors at this point really didn't matter, since it would all be painted later anyway! Also, the fit here isn't exact, since I hadn't yet attached the straps to hold the carapace on under my arms. As you can see, though, it stays on quite nicely even without them.
And yes, it will forever bug me that the LARP mace in the background is crooked in these pictures.
We also got a bit of video at this point. You might even spot the infamous Ser Pounce-a-lot (R.I.P. <3 ) helping me out.
The next post, Other Garrus Armor Pieces, goes over highlights of the foam building process for the remaining pieces of armor.
Categories: Costuming
Tags: armor, carapace, chest, cosplay, costume, Garrus, Mass Effect, torso, turian, Vakarian
Live Date: 8/4/2013 |
Last Modified: 2/1/2021