Two More Matrix Molds - Wolf and Cat Masks
Sarrah Wilkinson - 9/16/2022
I hope you enjoyed my recent set of posts detailing how I converted my owl mask into a matrix mold. I've been hard at work getting as many masks converted to matrix molds as I can, but it's a process that can take a while! Still, the results are well worth it.
|
|
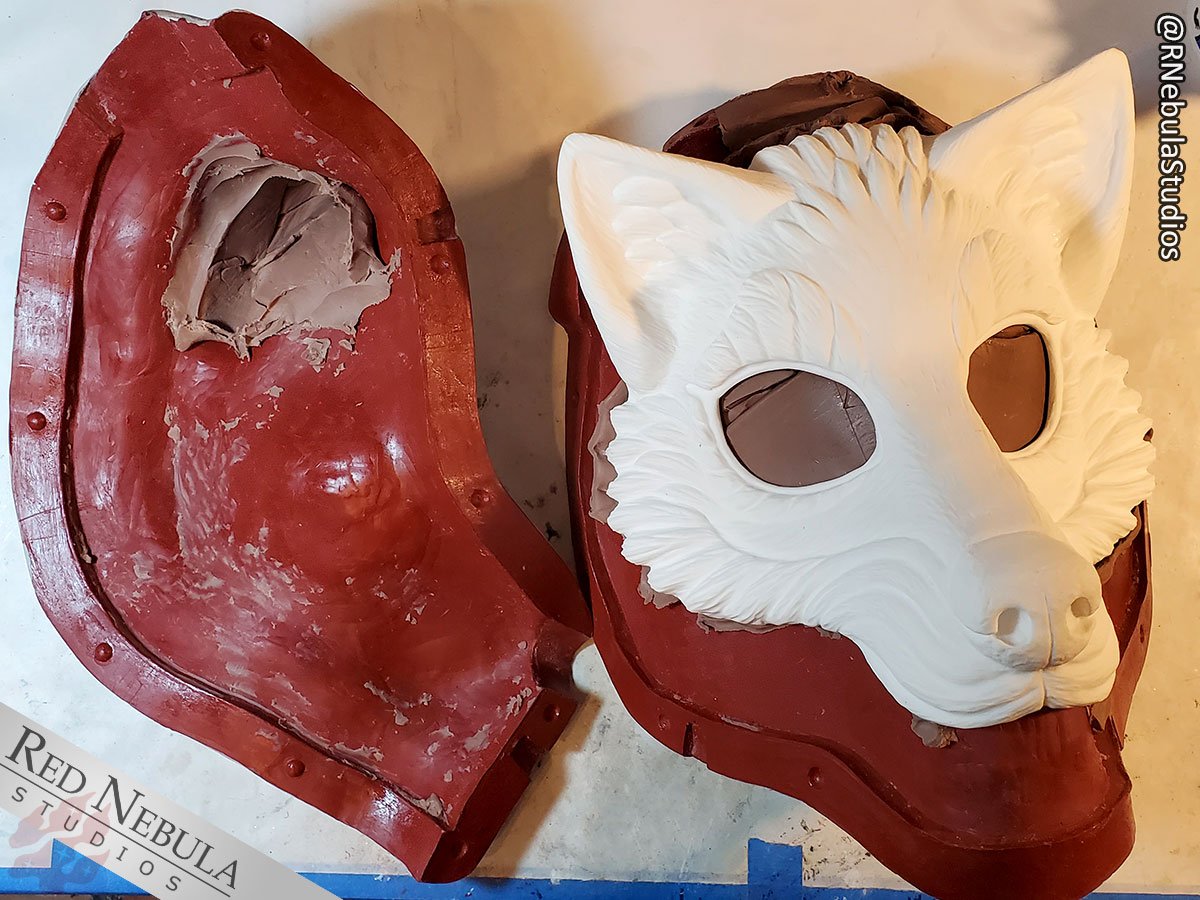

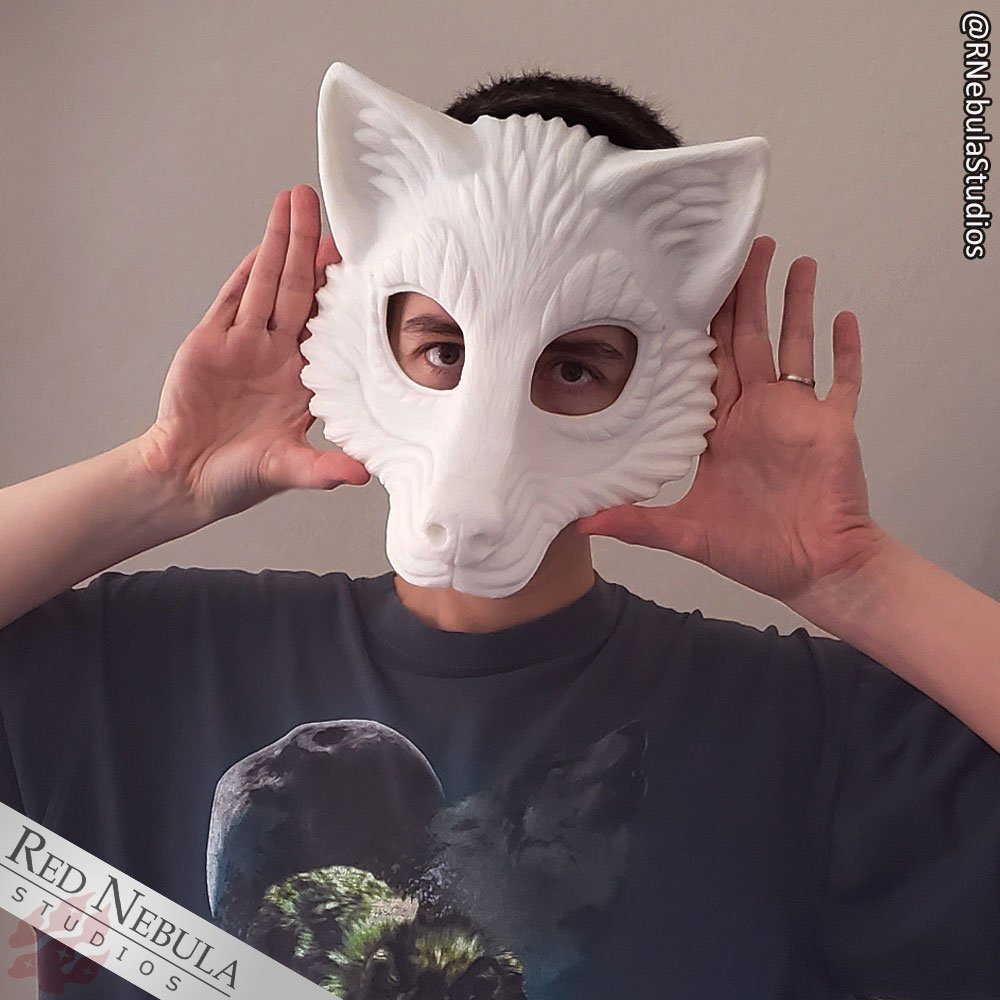
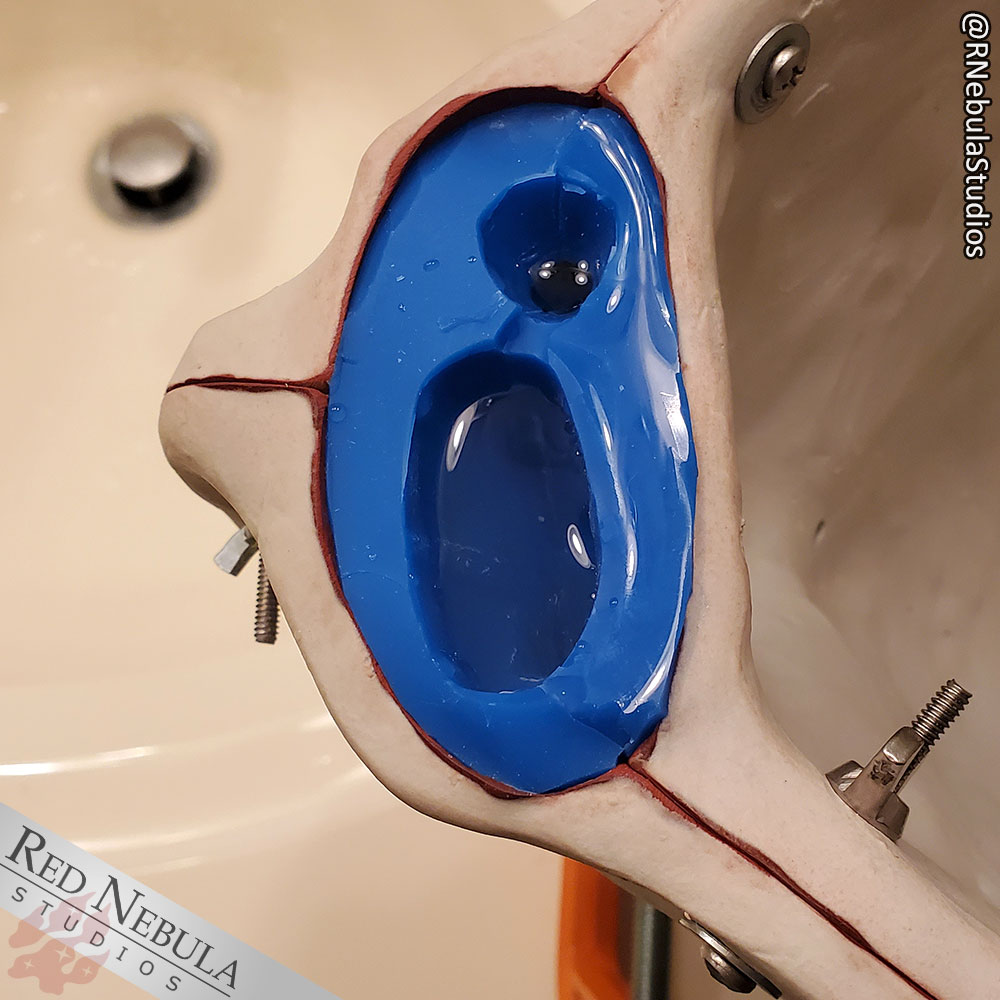
The wolf mask was admittedly one I was having my doubts about. When I originally sculpted this mask, it was bigger than most of the others I've done, and the detailing of the ears and the deep grooves of the fur made it a challenge to cast as a rotationally-cast mold. I was a little surprised at how popular it turned out to be! So, as my original mold started to give out on me, I debated heavily whether it was time to retire this design, or if I would take the risk and try to make it into a matrix mold.
For a matrix mold to work, it needs to be able to fit into my pressure pot. I really didn't think it would! Every step of the way, I had to check and double-check to make sure I didn't add on any parts that would interfere with the pressure casting process. The shape of the ears and the amount of detail meant I had to take special care to make sure it would even work as a pourable mold.
But... it worked! And let me tell you, I breathed one huge sigh of relief.
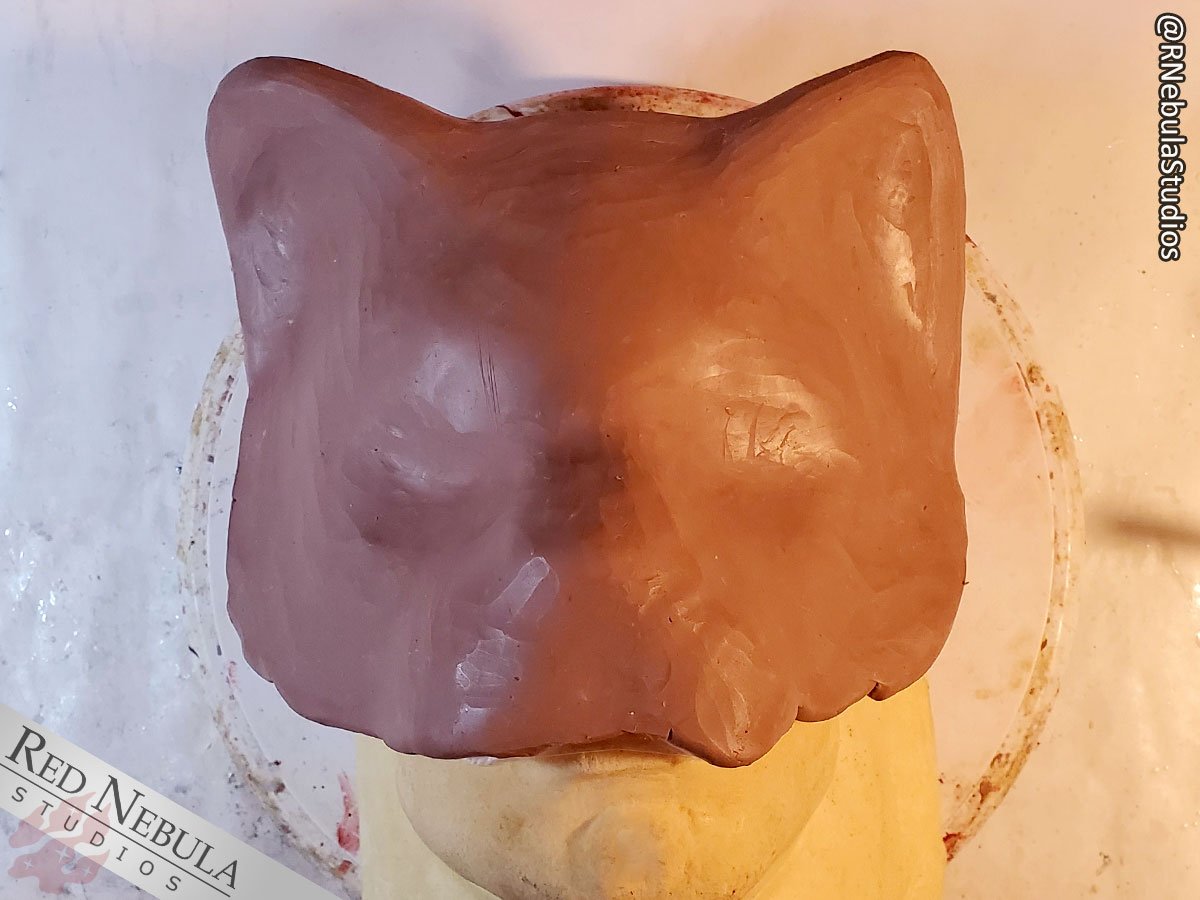
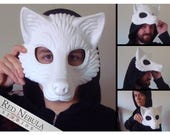
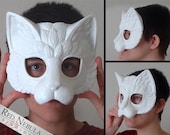
From there, the next mask I decided to tackle was my cat mask. One of my favorite sculptures, and such a fun mask to paint! Like the wolf, this one was a bit of a pain to rotocast properly; it took extra time and there was a lot that could go wrong. Those darned ears! But since I was able to convert the wolf over to a matrix mold, I was much more confident about giving the cat the same treatment.
|
|
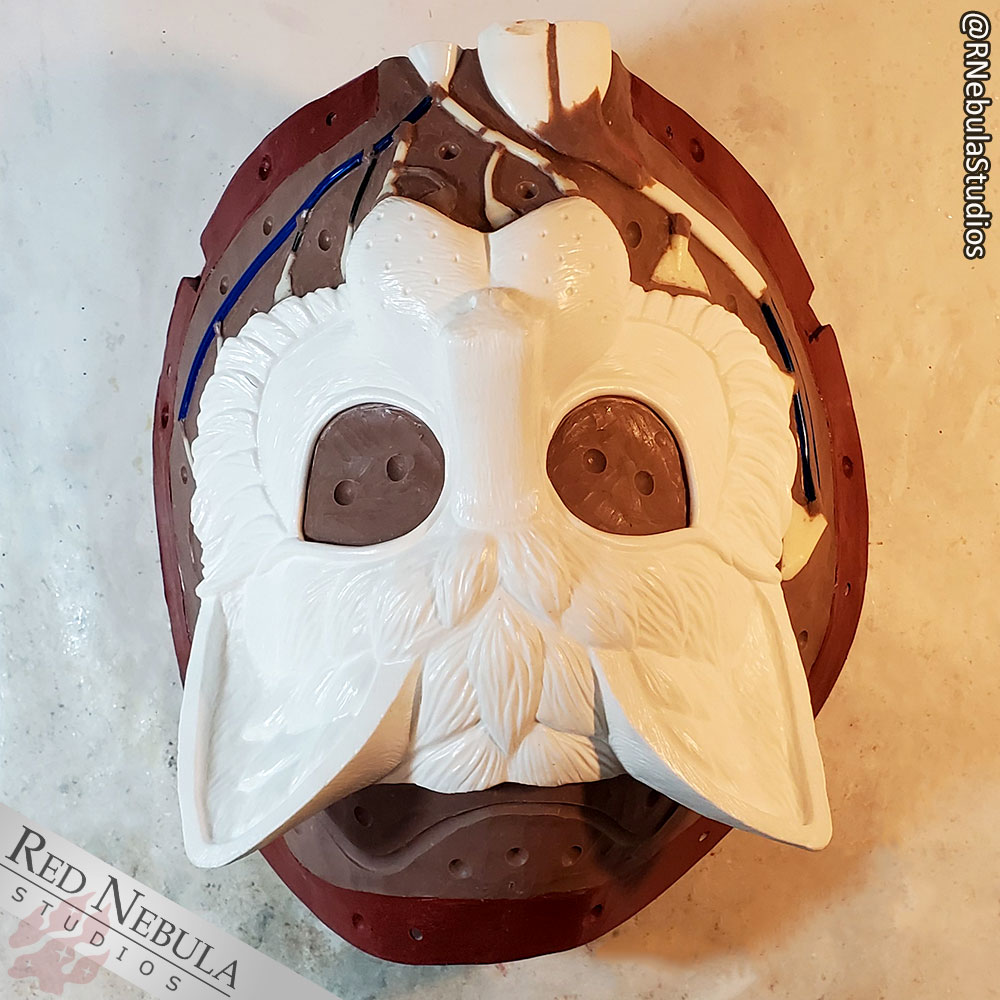
Because of the shape of the ears and the directional flow of some of the details, it turned out the easiest way to pour the cat mask would be to simply flip it upside-down. There's a little bit of an art to the placement of the pour spouts and venting sprues that you just pick up with time and experience (I go over that more in the Making a Matrix Mold series), but I'd like to think I'm getting pretty good at it now!
One nice trick I employ is to do the initial test mold pour with water. This is a great way to figure out how much resin I'll need to mix to fill the mold, and make sure there aren't any areas that might be prone to leaks.

Kitty! :D
Blanks of both masks are available in the shop now, ready for Halloween!
$73.00 via Etsy
$62.00 via Etsy
Categories: Costuming
Tags: cat mask, maskmaking, matrix mold, resin cast, resin mask, wolf mask
Live Date: 9/16/2022 |
Last Modified: 9/16/2022