Matrix Mold: Owl Mask, Part 2: Clay-up
Sarrah Wilkinson - 6/11/2022
In the last blog, I talked about what a matrix mold is and gave some pointers on how to plan it. In this one, I will create the clay structure over which I'll be making the matrix mold's outer shell, or mother mold.
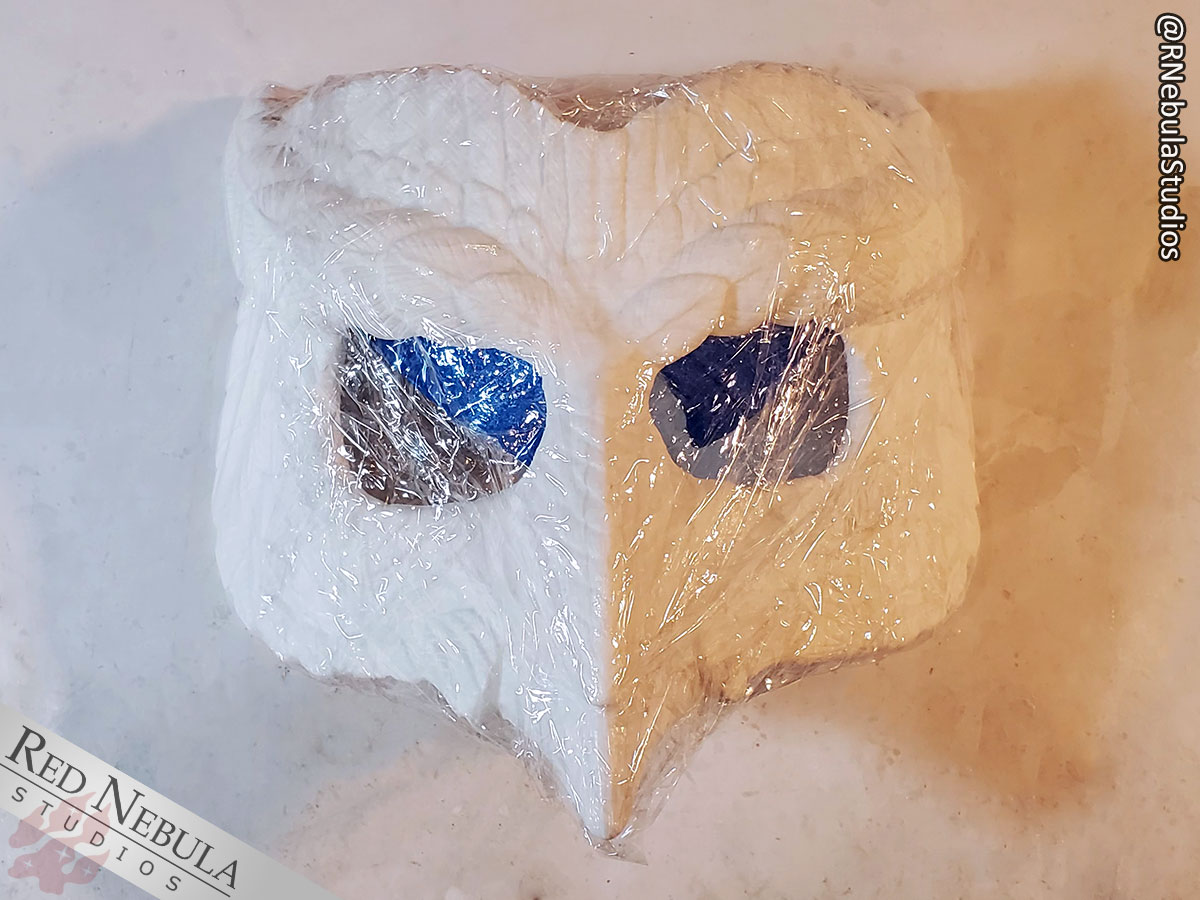
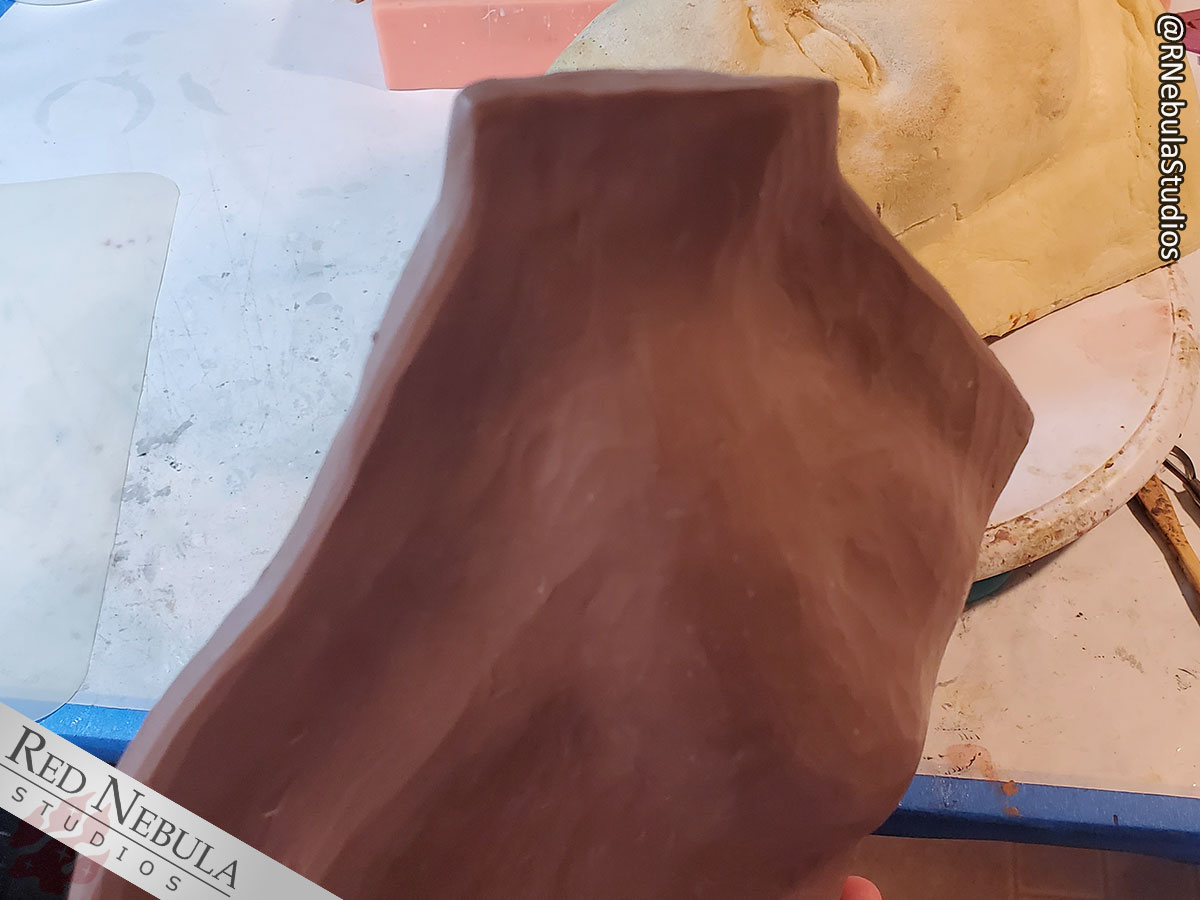
To start with, I'm going to encase the mask completely in a consistently-thick layer of oil-based clay. (I use Monster Clay.) To prevent the mask from getting messy, I like to first cover it in cellophane wrap. Like so!
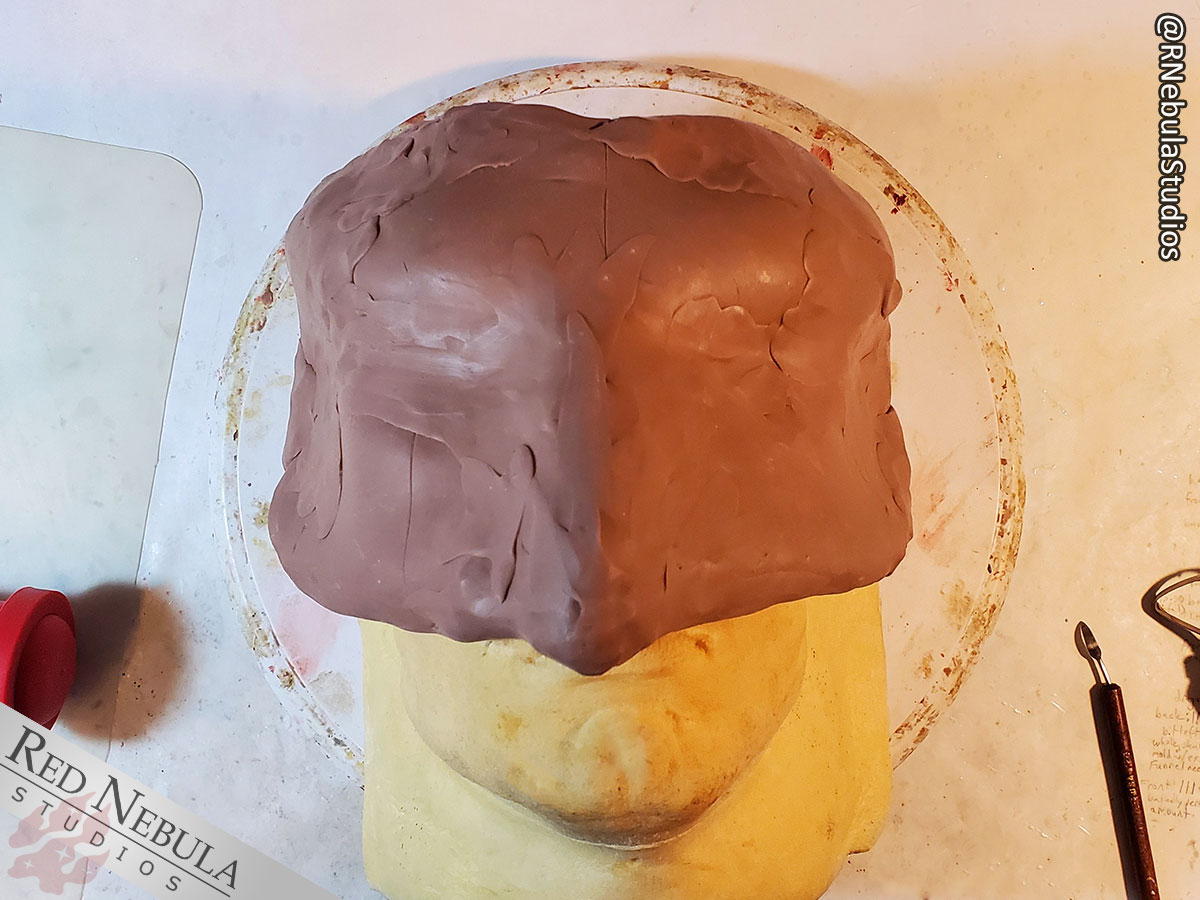
Next up, I start adding clay. I use a silicone rolling pin with guides to flatten the clay out to about 8mm thick, place the sheet over the mask, and then fill in the gaps afterwards. It helps keep the whole thing a nice, consistent thickness. Remember, the clay added now will be replaced with silicone later, so I always add enough to give you a solid mold, but not so much that I'm wasting material. I cover the entire mask, front and back.
Note I've also placed the whole thing on a face-shaped form, which helps keep the warm clay from deforming the original resin mask.
|
|
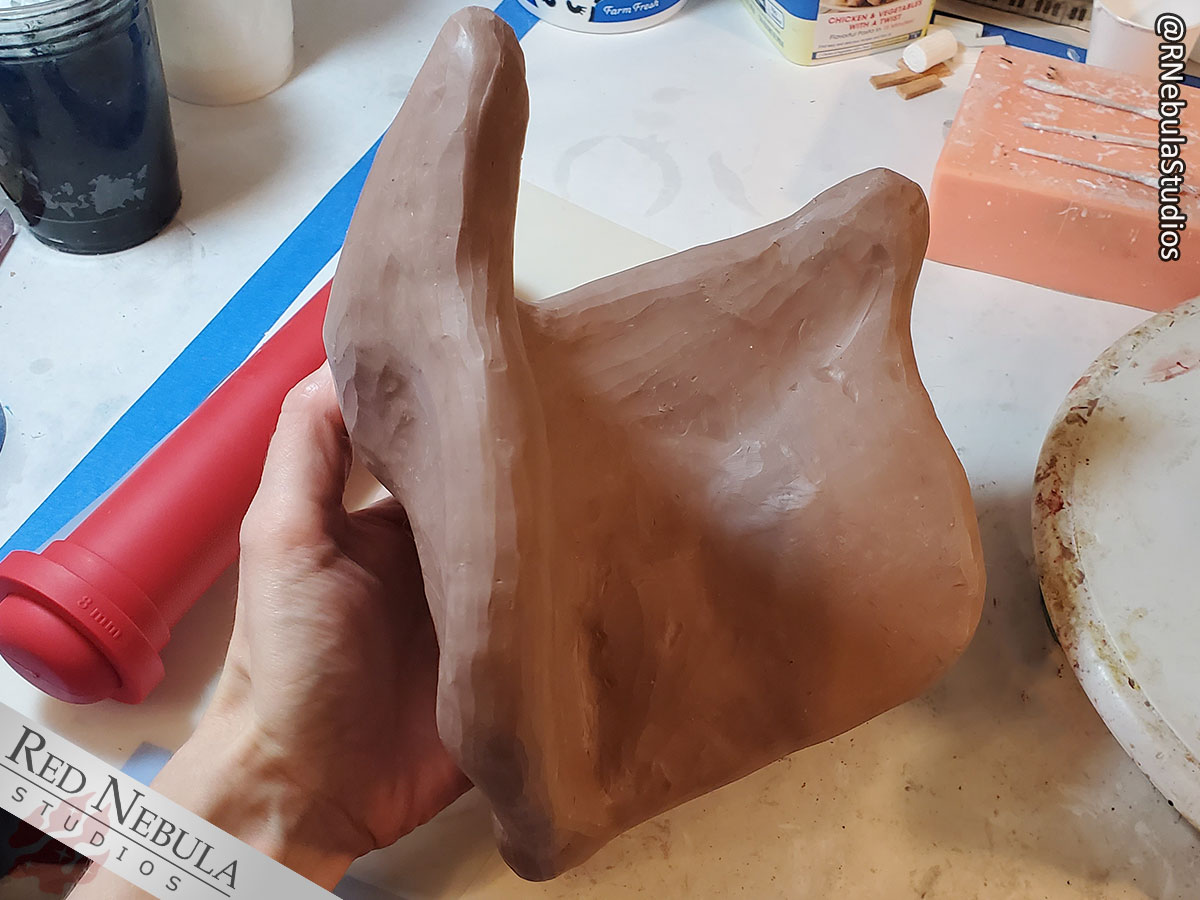
Next, I sculpt a flange of clay around the outside edge of the mask. This will be where the two halves of the final silicone mold will meet, and will need to be thick enough to account for mold keys, pour spout, and sprues. I typically make this flange about 1.25" wide and at least half an inch thick.
At this stage, I also build up the clay to a flat area where your pour spout and vents will be. This is where that planning turns out to be really important! In the case of the owl, material will be poured into one of the feathered "horns", and the other will be the main air vent. You can see where I plan to put the pour spout and vents in the last blog, and I'll show what this looks like in practice later.
|
|
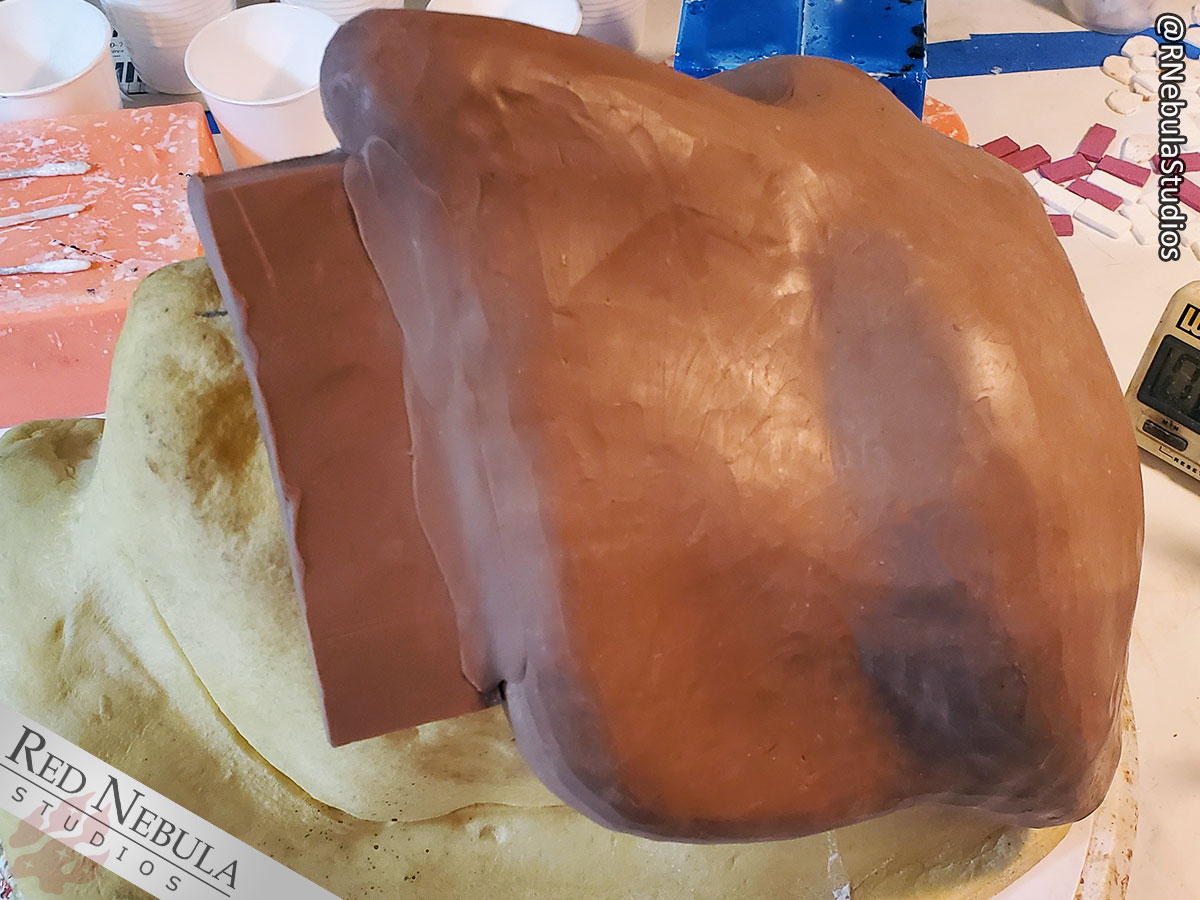
Finally, there's one more smaller flange to add around the perimeter, this time to create the wall of the mother mold shell. I typically make this about 3/4" wide. It only needs to be added where there will be two parts of the mother mold shell meeting each other, so I avoid the flat part where the pour spout and vents will be. I've also added a piece of PVC pipe that will allow me to pour silicone in to this mold half. Keys - little indents that help the mold pieces fit together - are also added to the flange.
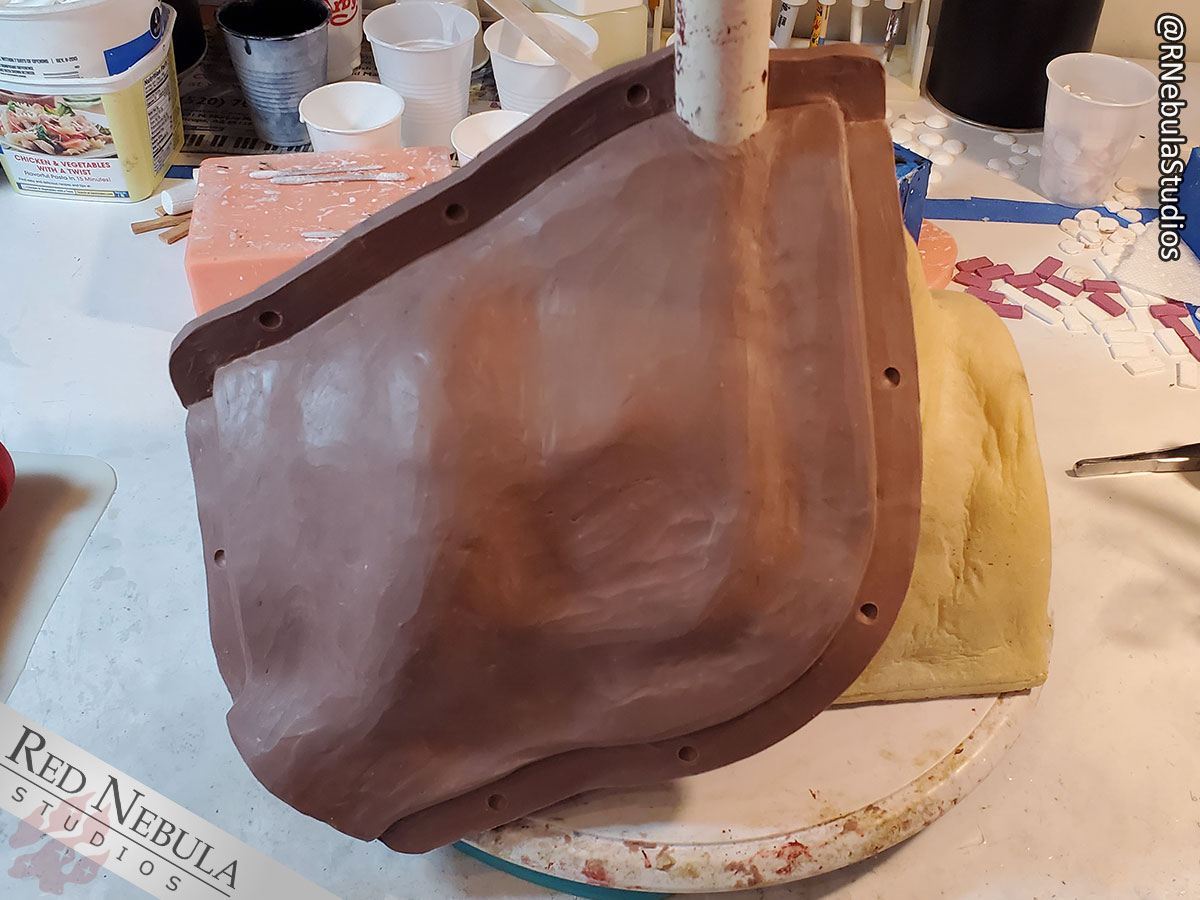
Because the mother mold is rigid, it's important to make sure there are no overhangs that might cause the mold to bind. This can be a tricky subject and takes a little practice, but you get the hang of it over time. For all of my mask matrix molds so far, I've been creating the mother mold in three pieces: two on the front, and one on the back.
At this point, I'm ready to start the first half of the front of the rigid mother mold, which I will cover in the next part!
All blogs in this series are linked from the Making a Matrix Mold page.
If you found this helpful, consider leaving us a tip or becoming a Patron! Your generosity helps our small business thrive.
Categories: Costuming
Tags: converting, matrix mold, monster clay, oil-based clay, owl, owl mask, resin, resin mask
Live Date: 6/11/2022 |
Last Modified: 5/17/2023